Connecting to Viking
Attention
Before you can connect to Viking you’ll need a project code and a user account.
To access Viking you’ll need to be on the campus network or using the VPN (see below).
Terminal access
Linux, MacOS and Windows PowerShell
Tip
The latest builds of Windows 10 and Windows 11 include a built-in ssh client, so you can run ssh commands directly from a CMD or PowerShell window. To run either of these search for CMD or PowerShell from the Windows search box and then type in the below command. If you’re using a personal device and need to install the ssh client please follow the Microsoft website. Alternatively you can install PuTTY and use it as described below.
To log in from a terminal emulator, use the following command:
ssh abc123@viking.york.ac.uk
You will be prompted for your IT Services password.
Note
If you previously connected to the old Viking then you may see a warning that the fingerprint has changed. Please see the FAQ for how to overcome this.
Windows
Alternatively, for terminal access to Viking from a Windows desktop, you can install PuTTY (or comparable software).
Configuring PuTTY to connect to Viking
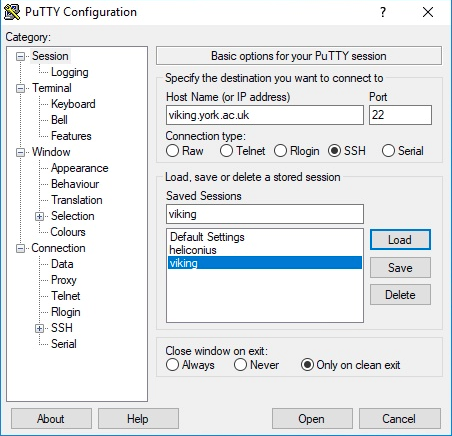
Open PuTTY and configure it to connect to Viking:
Add the name ‘viking.york.ac.uk’ to the ‘Host Name’ field
Check the ‘Connection Type’ to SSH
Type the name ‘Viking’ in ‘Saved Sessions’
Click ‘Save’
Connecting to Viking
Start PuTTY
Select ‘Viking’ from the ‘Saved Sessions’
Click ‘Open’

A terminal window should appear. Log in with your University username and password.
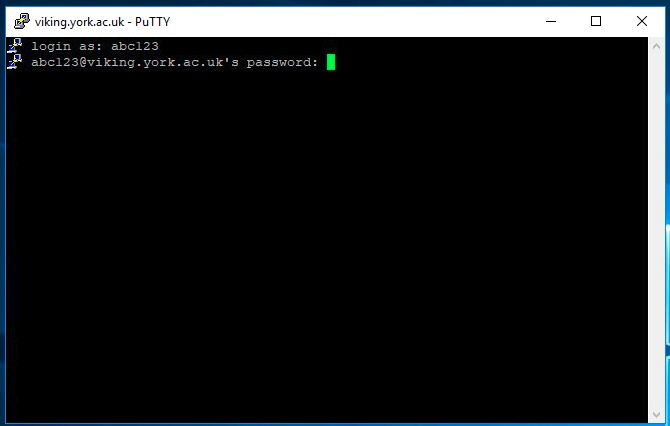
If you are successful this is what you will see:

Connecting from off campus
Viking has been configured to only allow connections from the University network. Therefore, in order to access Viking off-campus, you must first connect to either the VPN service, or create an ssh tunnel. These re-route your traffic through the University network allowing you to connect to Viking as if you were on campus.
Using the VPN
Please see the main IT Services page on using the VPN found here. Once you’re connected to the VPN you will be able to connect to Viking, for example:
ssh abc123@viking.york.ac.uk
SSH gateway
The University also provides an SSH gateway service that can be used to allow off-campus access to Viking, as an alternative to the VPN. To use this method, ssh to ssh.york.ac.uk (substituting your username for abc123):
ssh abc123@ssh.york.ac.uk
Once you have entered your password and gone through the 2FA (two-factor authentication), you should then see the following message asking which machine you wish to connect to. Simply enter viking and press Enter.
The following options are available:
- Enter the name of the machine you wish to ssh to.
- Enter 'username@machine' to use a different username.

Enter York host or service name: viking
Jump hosting via the SSH gateway
To avoid manually entering the hostname when using the SSH gateway, it’s also possible to directly connect to Viking by “jump hosting”:
ssh -J abc123@ssh.york.ac.uk abc123@viking
Hint
You will still need to enter your password, and then complete the 2FA